MOB Procedure
Having a clear and effective MOB Procedure is vital for ensuring crew safety. There are many approaches, each of them with their passionate adherents.
For years I was a fan of the Quick Stop method developed by the US Yacht Racing Union (USYRU) Safety at Sea Committee, the US Naval Academy Sailing Squadron, the Cruising Club of America Technical Committee and the Sailing Foundation of Seattle, Washington. After all, the approach was developed with extensive research and sea trials. You can read their report here. It was, therefore with no amount of persuasion and some reluctance that I adopted a new Man Overboard Procedure.
This method was taught to me during my Instructor’s Course by Andy Fairclough from Flying Fish Sailing School. I have tremendous respect for Andy, his experience and teaching ability. His MOB procedure is so much better. Reading the USYRC Report I can now see why they didn’t end up supporting this approach, and it is to do with their methodology. Essentially they didn’t consider this approach, and only compared their approach with ‘reaching off’ approaches. I also think that it assumes a vessel sailing in strong winds can complete the manoeuvre in a much tighter circle than is realistic. This approach is a ‘quick stop approach, but with three big differences. Firstly, you do not approach the MOB from directly down wind, but on a close reach at 60 deg to the wind. This give you maximum control and precision. Secondly, you approach the MOB so that they are on the leeward side. Thirdly, it is adaptable to a downwind MOB, while the Quick Stop is largely an upwind MOB procedure.
You can download the procedure here, or read it below. First some discussion about this approach.
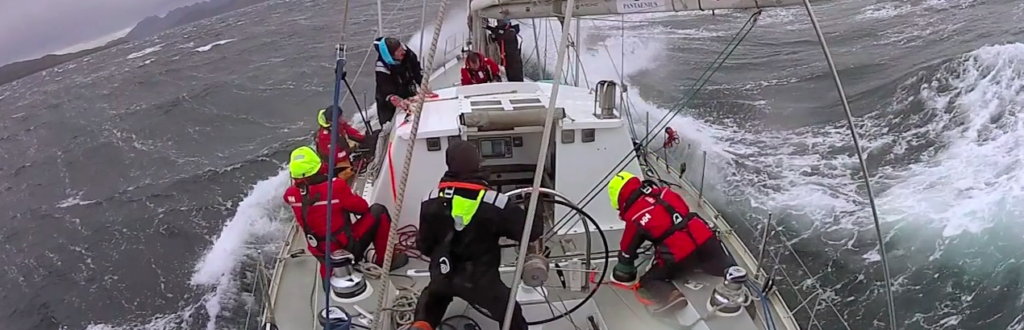
- There are a number of different approaches recommended for responding to an MOB situation. Masters/Skippers should determine which is their preferred approach, document it and practise. It is important to be consistent.
- Some procedures only describe response and recovery when the MOB takes place upwind. Most MOBs occur downwind during a broach or accidental gybe.
- This guide has procedures for both up and downwind, with the same final approach. Both up and downwind MOBs should be practised.
- Some procedures approach with the casualty on the windward side. However, the windage is far greater on the yacht than the casualty so that the yacht will drift away from them. When practising with a fender the opposite is the case, which can give a wrong impression.
- Keeping the casualty to leeward provides them with some protection, presents a much lower freeboard for recovery, while the action of the water on the boat keeps the casualty from being hit by the boat.
- By approaching on a close reach (60 degrees to the wind) the helmsperson has maximum control to adjust speed and direction.
- When approaching the casualty the main should be eased and the motor reversed to stop the boat directly to windward of the casualty. The helm should use the forward/reverse to stay immediately upwind of the casualty which will allow the boat to slowly drift downwind towards them. Practice in order to learn how early and hard to reverse (it is earlier and harder than you may think).
- The hardest part of the manoeuvre is the recovery. This should be affected from near the mast using a halyard. This should be practiced on the dock of the marina. While noting there have been effective rescues over the transom, the danger of taking the casualty on board from the stern is that in moderate to high seas they can be drawn in and hit by the transom which can rise 2 metres or more above them and come crashing down.
As always, your comments are very welcome.
See you on the water.
Tim Foster
2 thoughts on “MOB Procedure”
Transom recovery (swim platforms) rather than amidships should be considered/recommended for Catamarans – as freeboard is generally lower and less likelihood of transom slapping.
Do people fall off catamarans? Just kidding. Great point Justin. I admit knowing very little about cats, so I will bow to your judgement on this one. Thanks for you comment.